Ident update #4
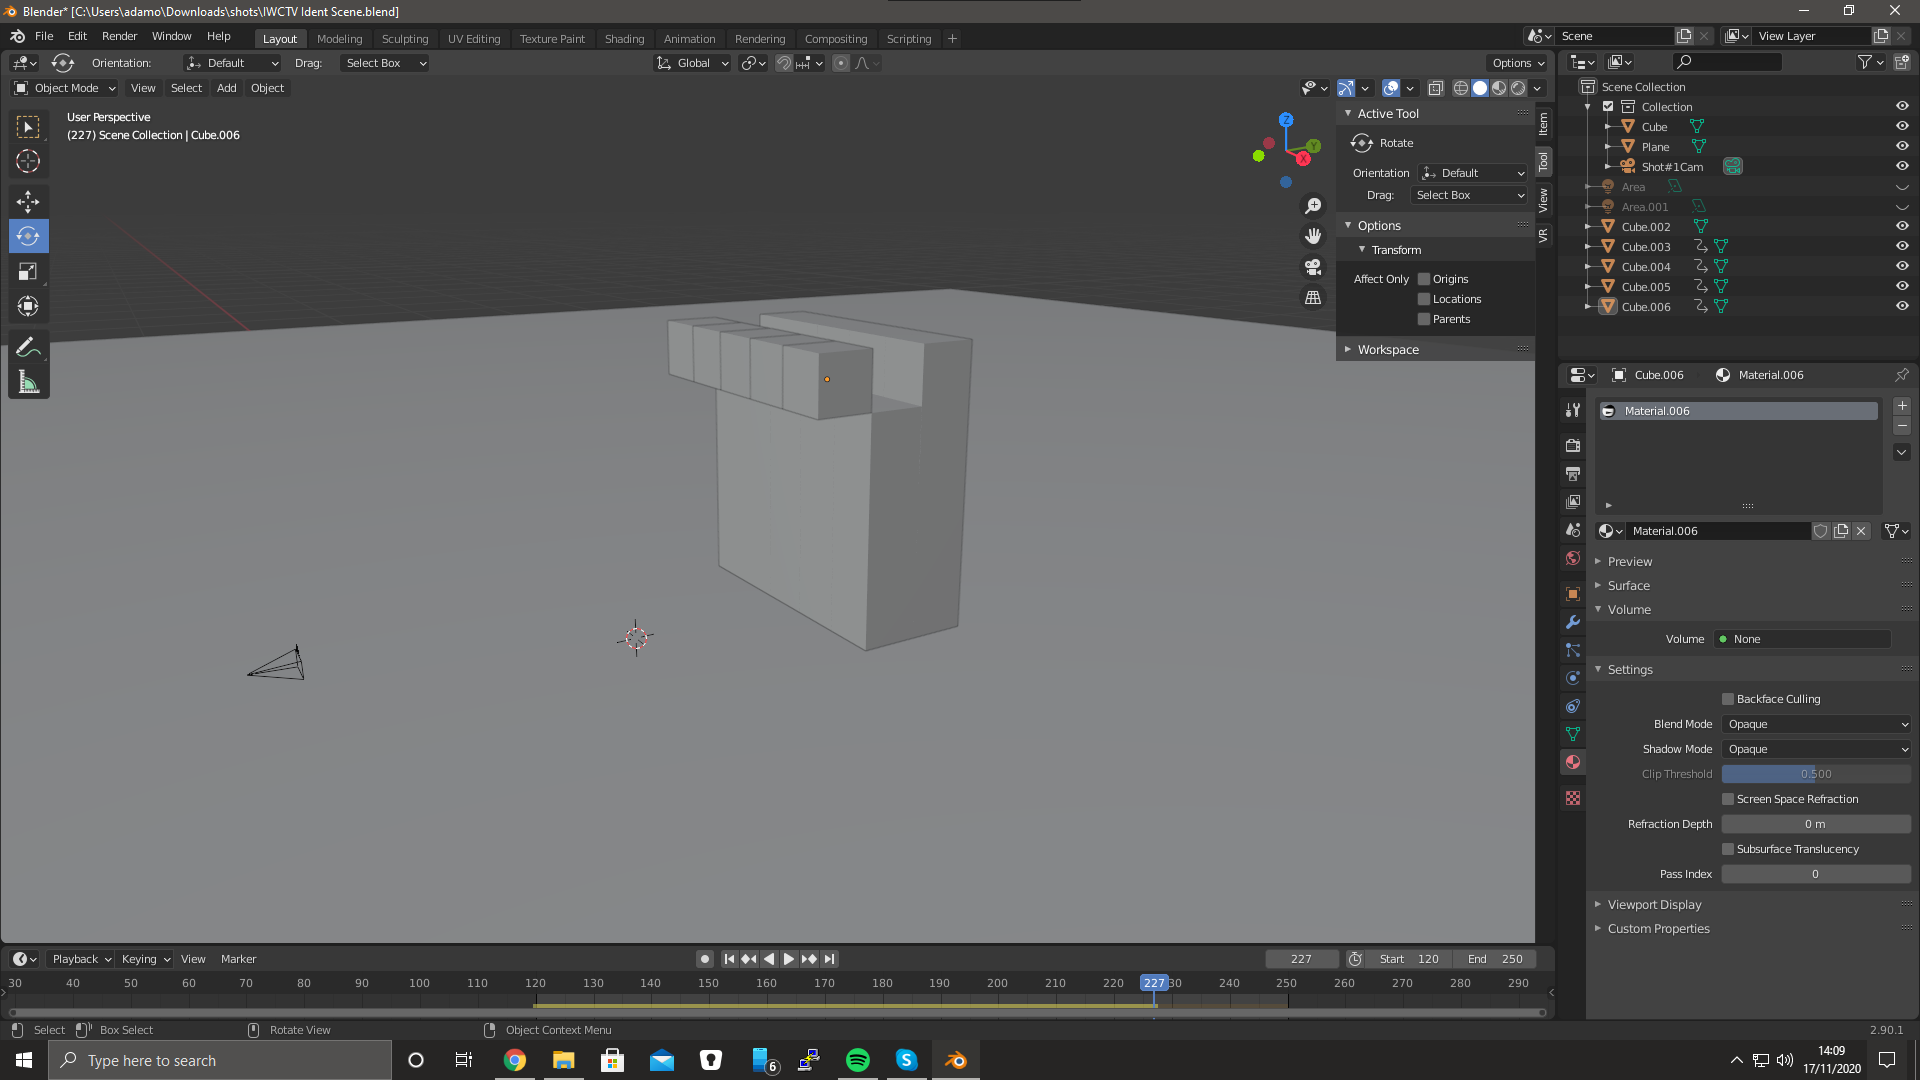
When importing an image texture on a cube, the image is wrapped around the net of a cube which isn’t how I want the image texture to be displayed. To fix this, I would have to select each face of the object and move the image textures UV Map and move it wherever I need it to be. For the front of the cube, I would resize and position the individual face of the UV to fill the image, making the image texture appear on the front of the screen perfectly. For the rest of the faces, I would move the UV map to fill it with white so the sides, top and bottom faces do not have the image in it. I would repeat the process with the rest of the textures. Finished result image below


This is the finished result of the cubes. All
cubes have an image texture applied to the base colour. All properties for the cubes
and the scene are complete and do not need to change. Considering that moving
any part of the scene that collides with the cubes, it could change where the
cubes land and ruin the scene. To avoid this, I can bake (convert) the Rigid
Body Simulation to keyframes. Meaning that the movement of the cubes are
permanent, they will not change if any part of the scene changes. They will
fall to the ground no matter what changes apart from the cubes keyframes.
Baking the simulation into keyframes also means that I have more control over how the cubes fall. It also means that I can delete keyframes that are not needed, such keyframes towards the end that make slight movements to the cubes after they fall. These keyframes are not needed since they are unnecessary movements, deleting them will make them perfectly still when they have hit the ground.
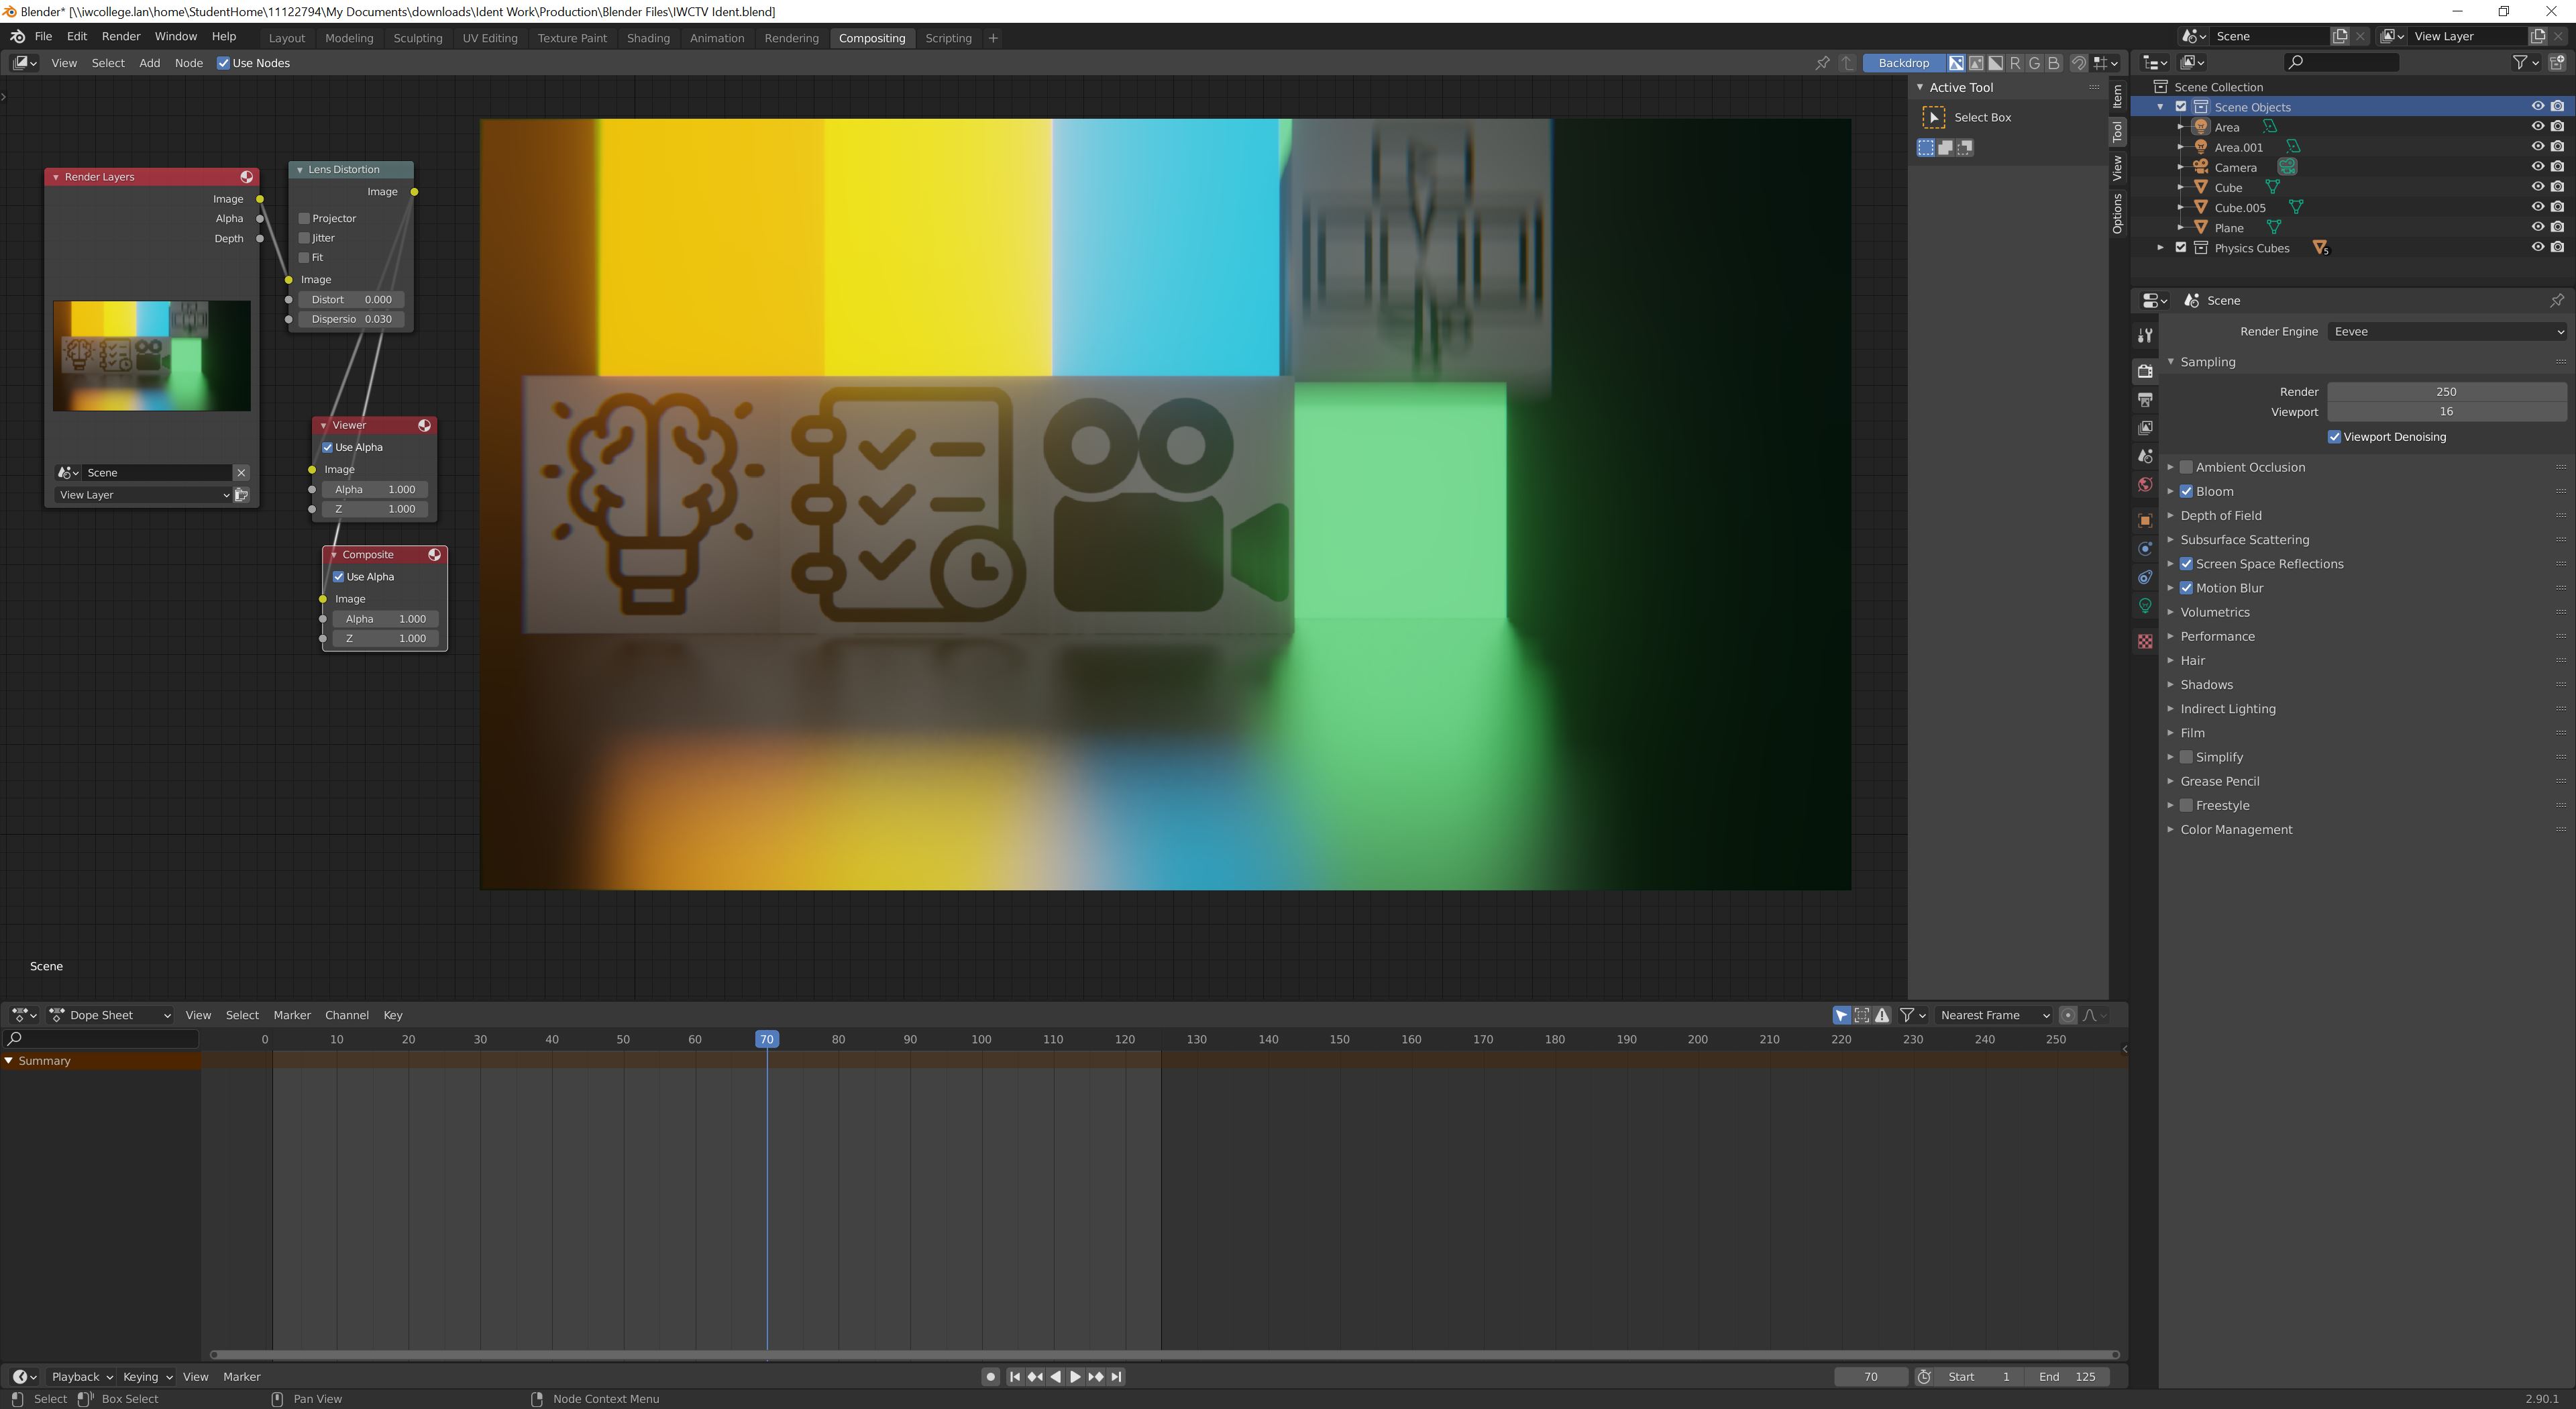
After all adjustments are made to key frames and other properties to the project, I can work on adding effects in the compositing tab. I began with adding two nodes to the render which is Glare and Lens Distortion. The Glare would make the colours of the background glow more but deleted them since there was already enough bloom. The lens distortion added a stereoscopic 3D effect to the edges of objects, adding more creativity to the render.

After compositing, the scene is complete and ready to render. I will render the scene in the future as it takes a while to render the scene

Baking the simulation into keyframes also means that I have more control over how the cubes fall. It also means that I can delete keyframes that are not needed, such keyframes towards the end that make slight movements to the cubes after they fall. These keyframes are not needed since they are unnecessary movements, deleting them will make them perfectly still when they have hit the ground.
After all adjustments are made to key frames and other properties to the project, I can work on adding effects in the compositing tab. I began with adding two nodes to the render which is Glare and Lens Distortion. The Glare would make the colours of the background glow more but deleted them since there was already enough bloom. The lens distortion added a stereoscopic 3D effect to the edges of objects, adding more creativity to the render.

After compositing, the scene is complete and ready to render. I will render the scene in the future as it takes a while to render the scene