Ident Update #3
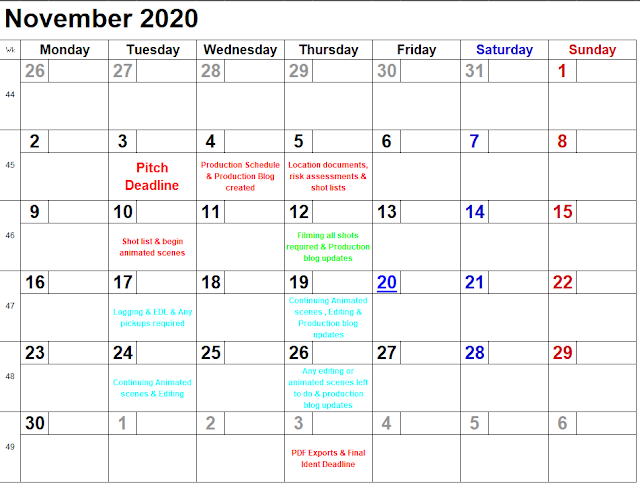
Today I have begun the production for the animated scenes. I have been using a draft project file so I can get to grips with shaders, physics and other settings that may be needed while I work on the main project file. Screenshots have been taken and will be posted in this post and future posts.


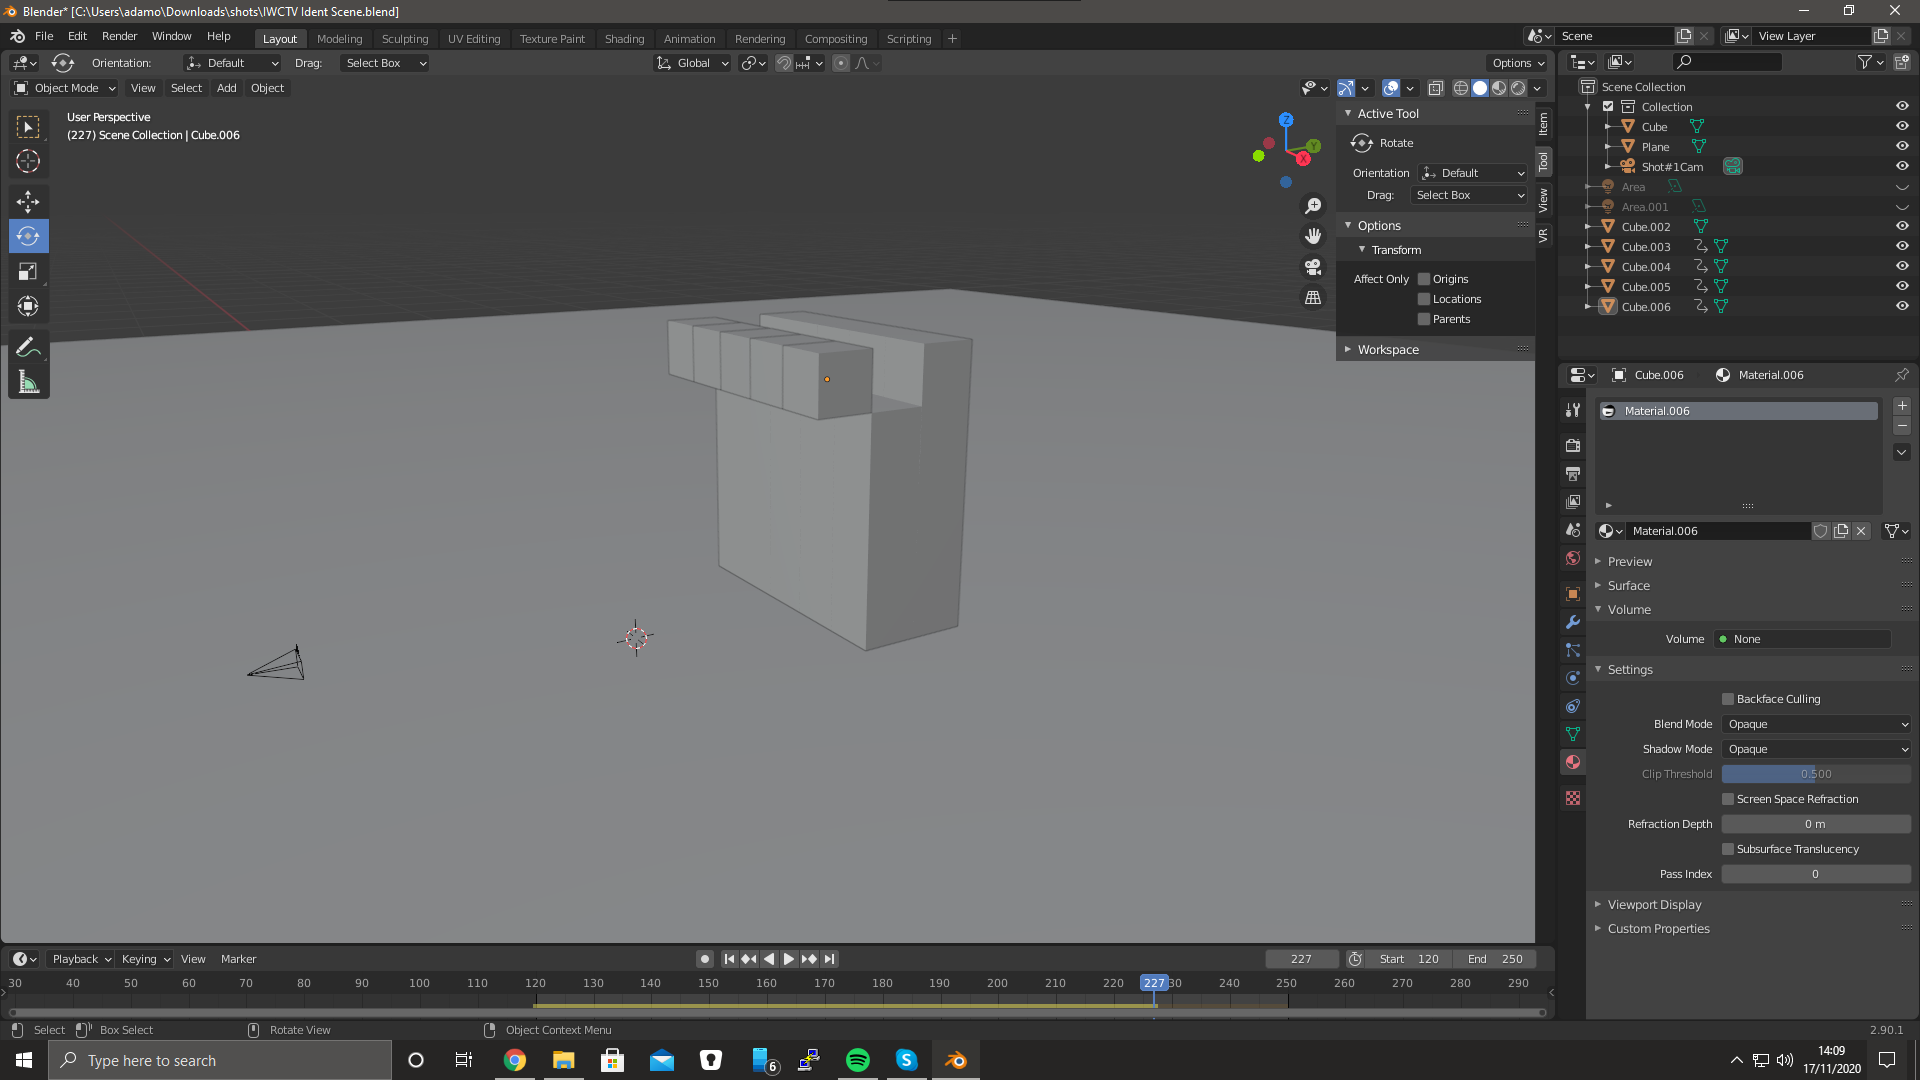
This screenshot is changing the world setting. I changed the colour of the world to black to make the background of the Ident black.


I then used the array modifier again to duplicate the object
again and change its offset to Y = 1 & Z = 1 to achieve the steps look.


I then selected the bottom of the model and extruded the
bottom faces to the ground to extend the height of the steps object

I then added the
five cubes and placed them where I want them fall from.

I then applied
the rigid body physics to the cubes and the ground.


Although
collision collections where not set up at the time so the cubes would collide
with each other. Putting them into separate collision collections would make
sure they won’t collide with each other although some cubes would phase through
the ground because the ground was only in one collision collection. I then
added the ground to all collections. The cubes would then fall to the ground
without moving all over the place and hitting the ground perfectly.

Next step was to add keyframes to the dynamic settings
in the rigid body section for each cube. The dynamic setting is a setting which
turns on the simulation for each object. When dynamic is off, the cubes do not
move, and the simulation does not begin. When it is on, the simulation starts.
Each cube would start to move every 15 frames until the last one had
fallen.

Once the rigid body was setup, it was time to light the
scene. I used two area lights at the side of the camera to light the main
objects of the Ident.

I then made a material for the ground which was a glass
material so that the ground was reflective for the future.

I gave each part of the steps a separate colour which
would be used to separate the videos in post- production. Although I changed
the material to an emission material. This material would make the colours glow
more instead of looking dull as well as making the ground reflect the colours
more.

I
then added keyframes to change the colours from black to its specified colours
as the cube fell to the ground.

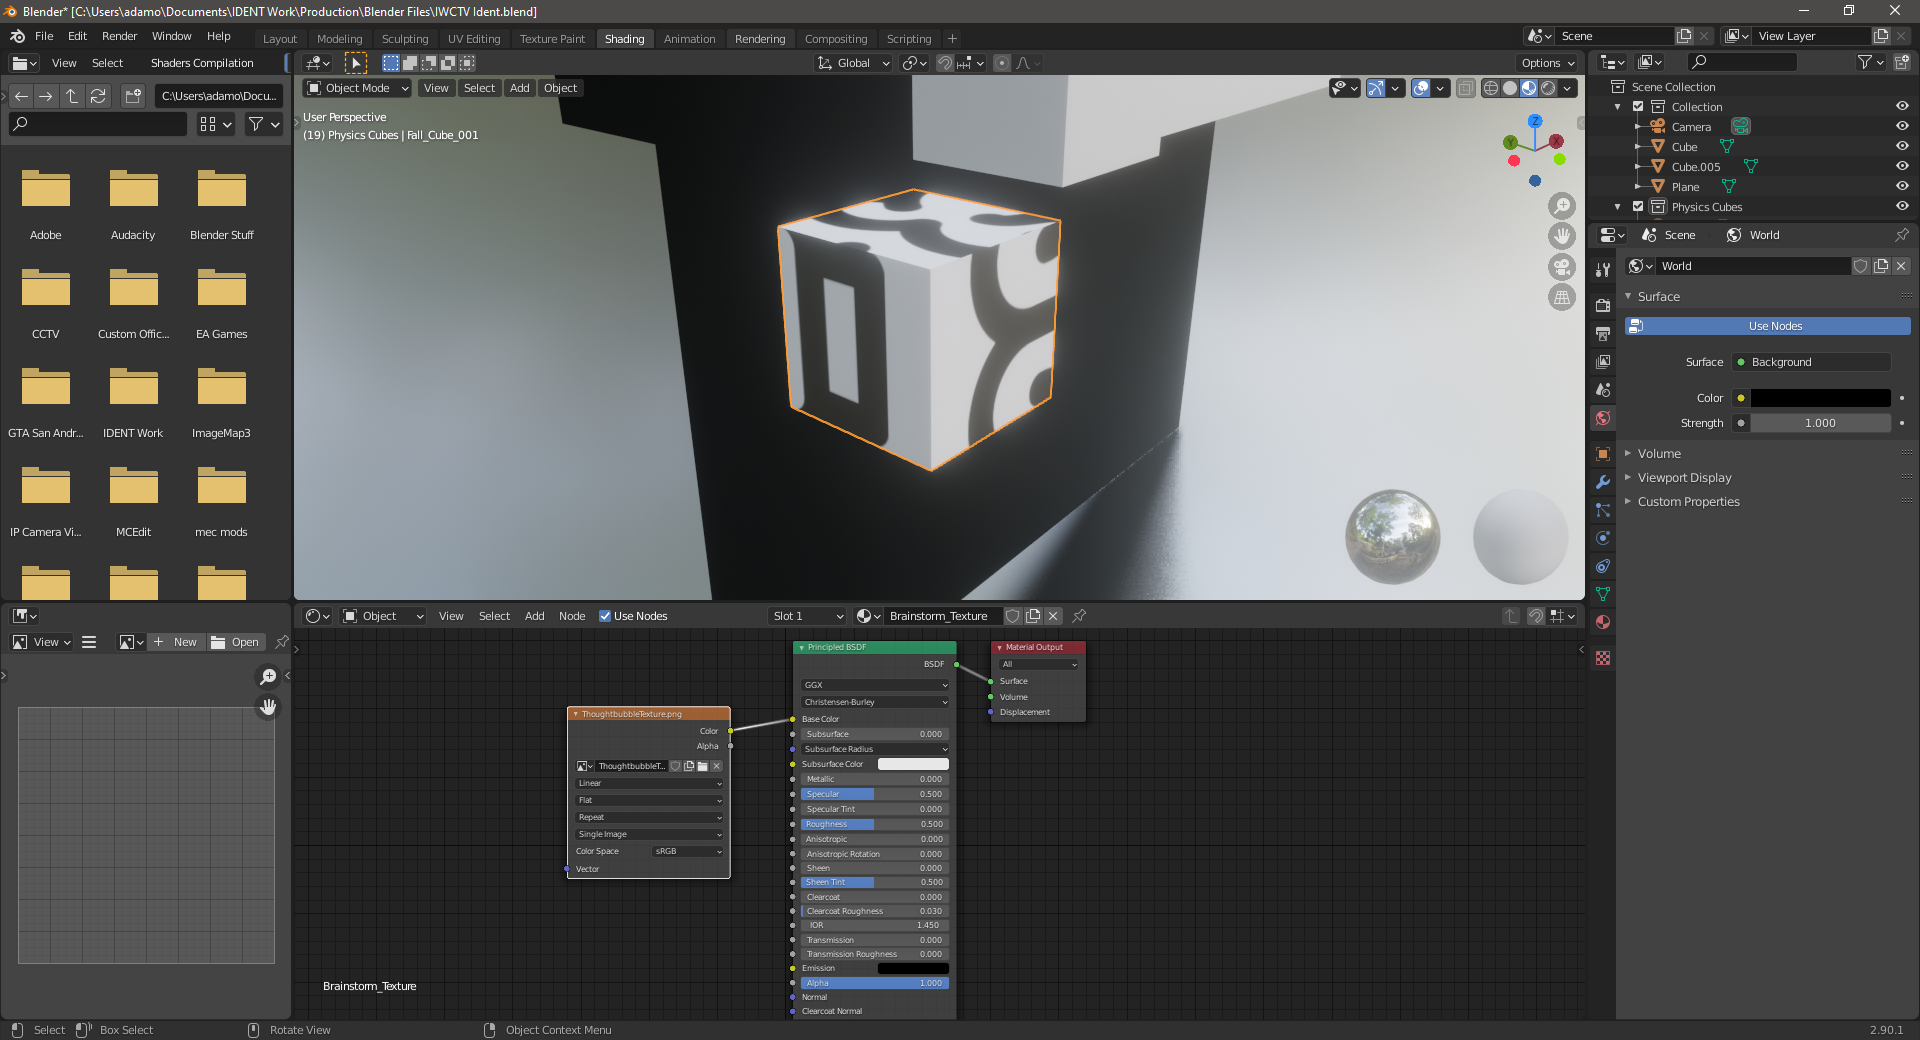
I then added motion blur to the scene and rendered the animation. I have finished with the animated scenes for now. Next I will be making textures for each cube which would show what the video represents (camera, editing, brainstorming etc)